Hotline
Giỏ hàng
Error: Contact form not found.
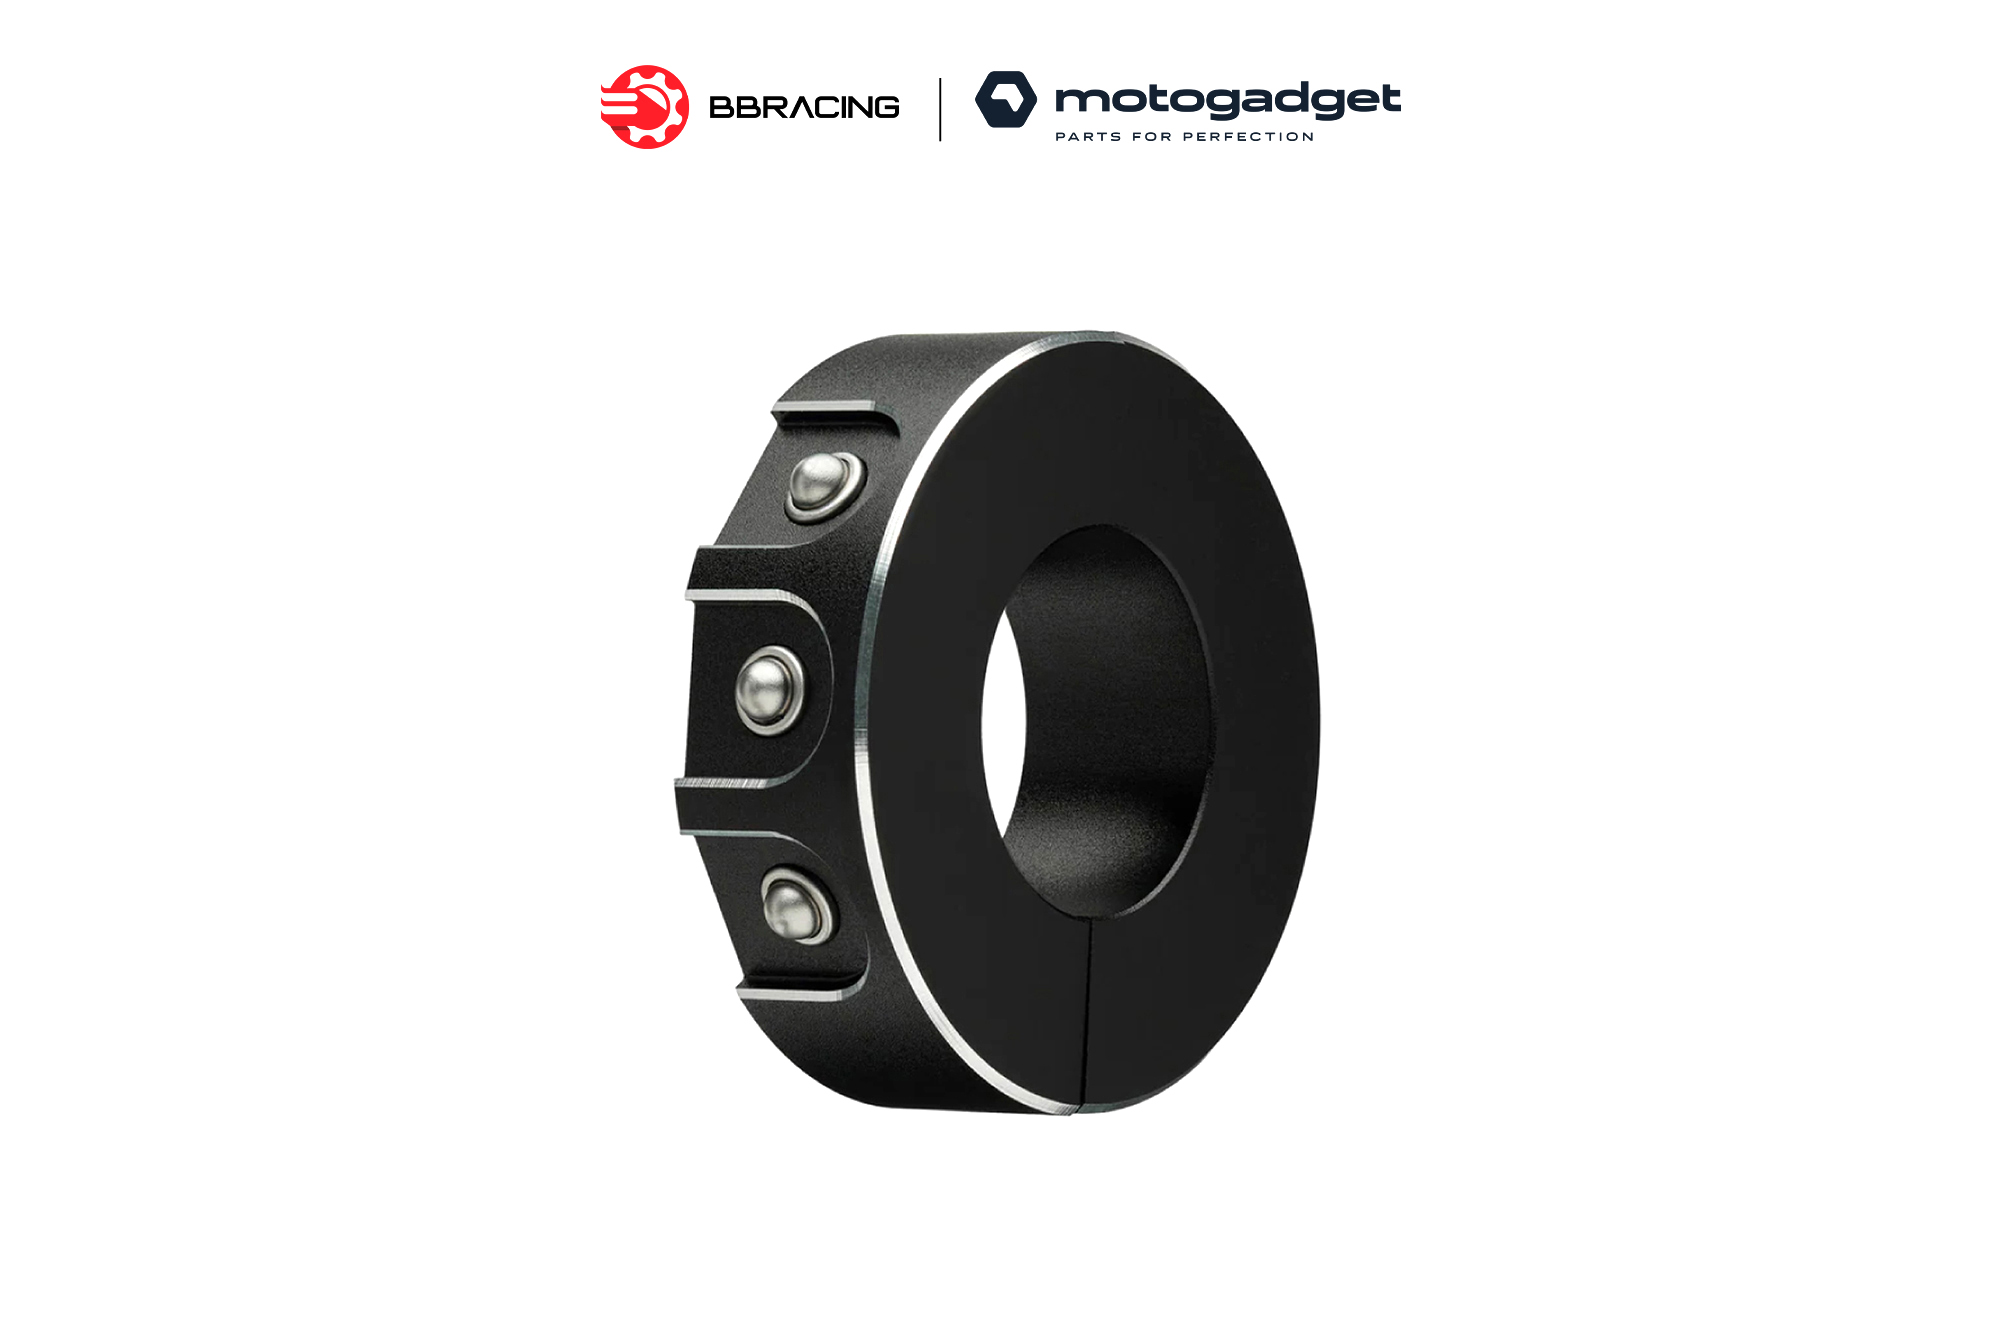
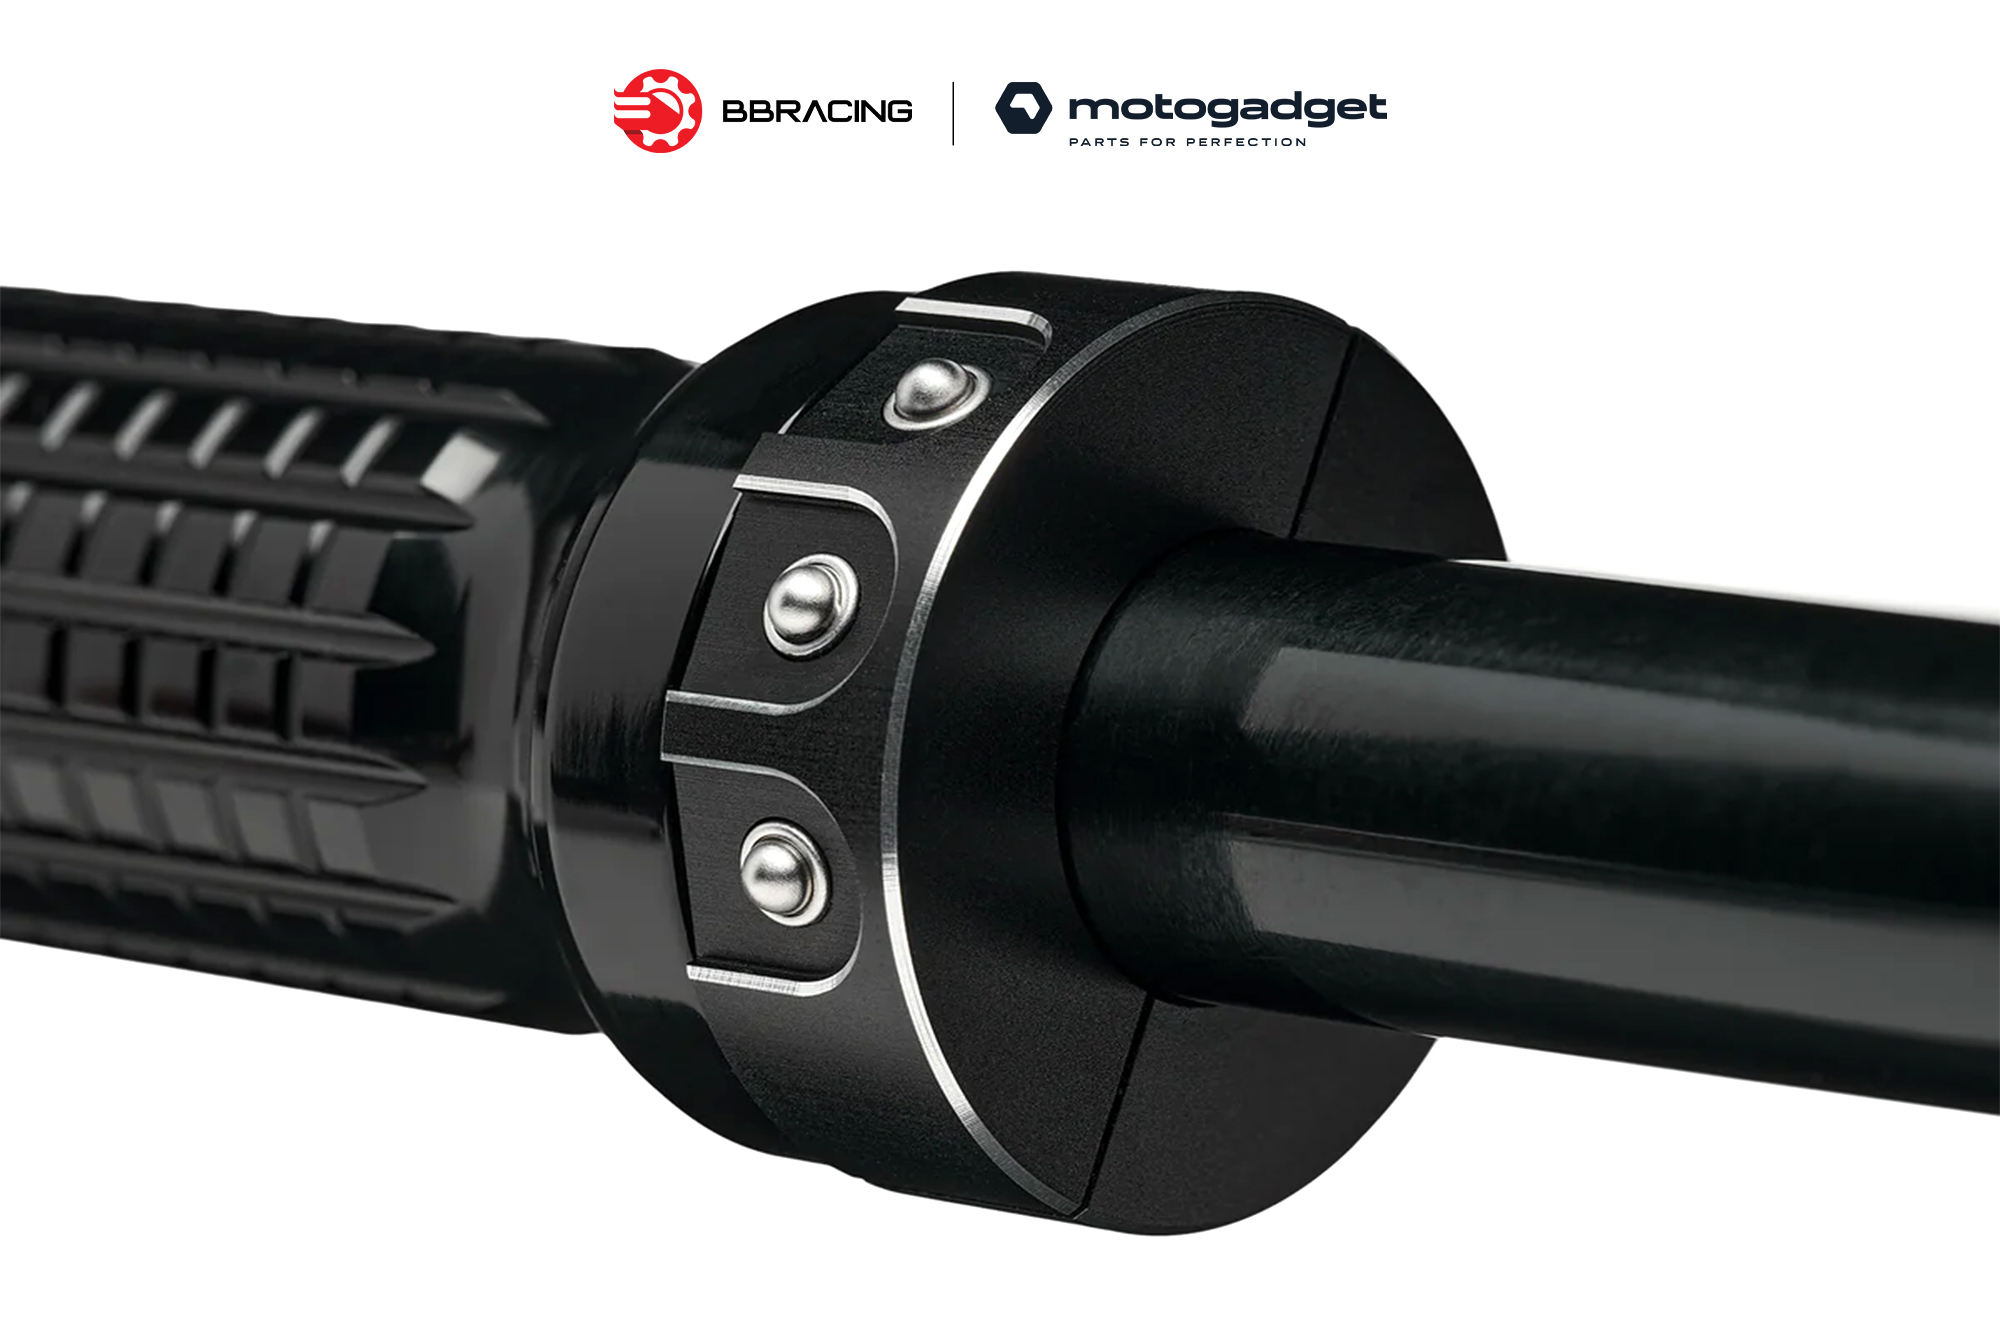
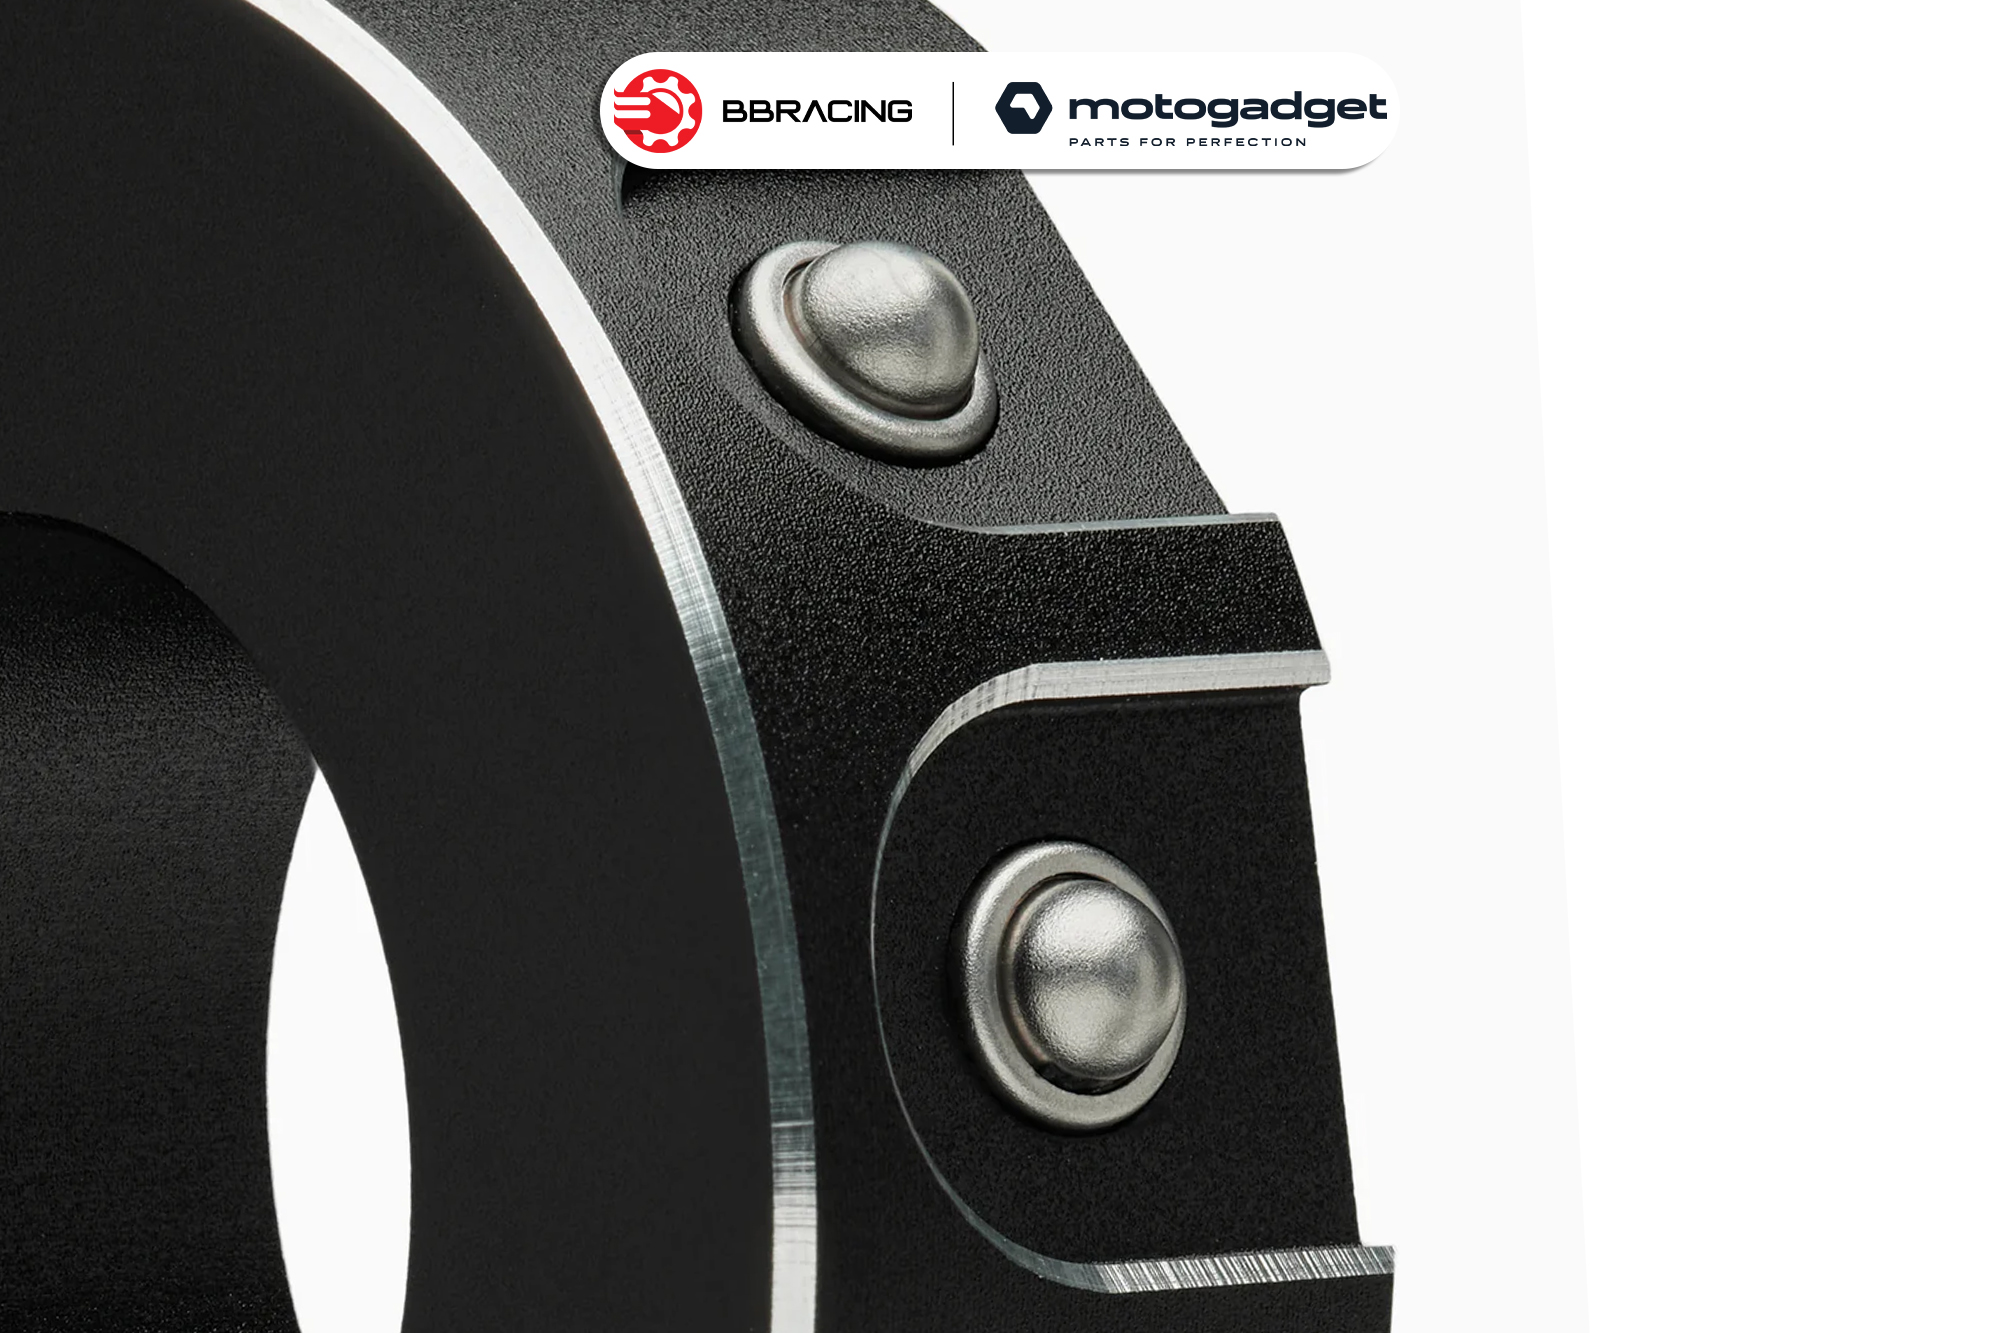
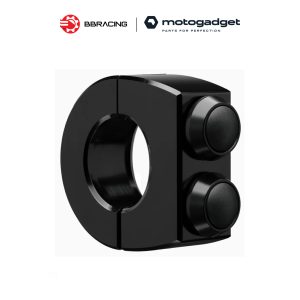
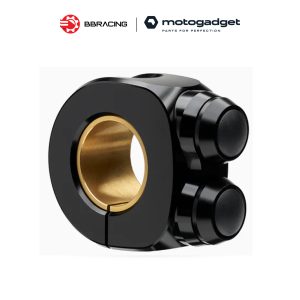
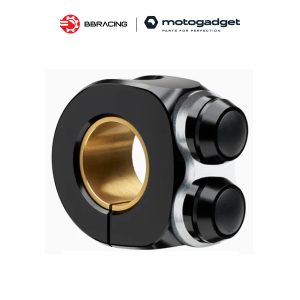
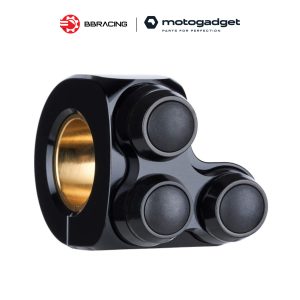
The mo.switch mini is a universal, small push button fitting for handlebars with 1 inch or 22 mm (7/8 inch) tube diameter in an attractive look. Very small and narrow but very concise by the elaborately manufactured contrast cut. This is the housing milled from the solid first anodized and then milled over at the edges. 3 miniature pushbuttons with a defined pressure point are embedded in recesses that give the thumb the necessary orientation. The pushbuttons are protected against splash water and are very robust.
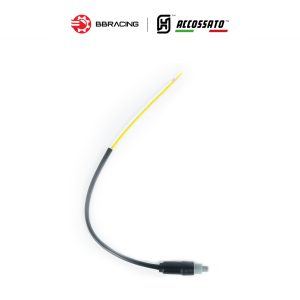
Also, the individual strands are already soldered ready for use, and waterproof cast. Only a hole for the thin cable must be drilled in the handlebar. With two meters of cable length, there are enough reserves for installation.
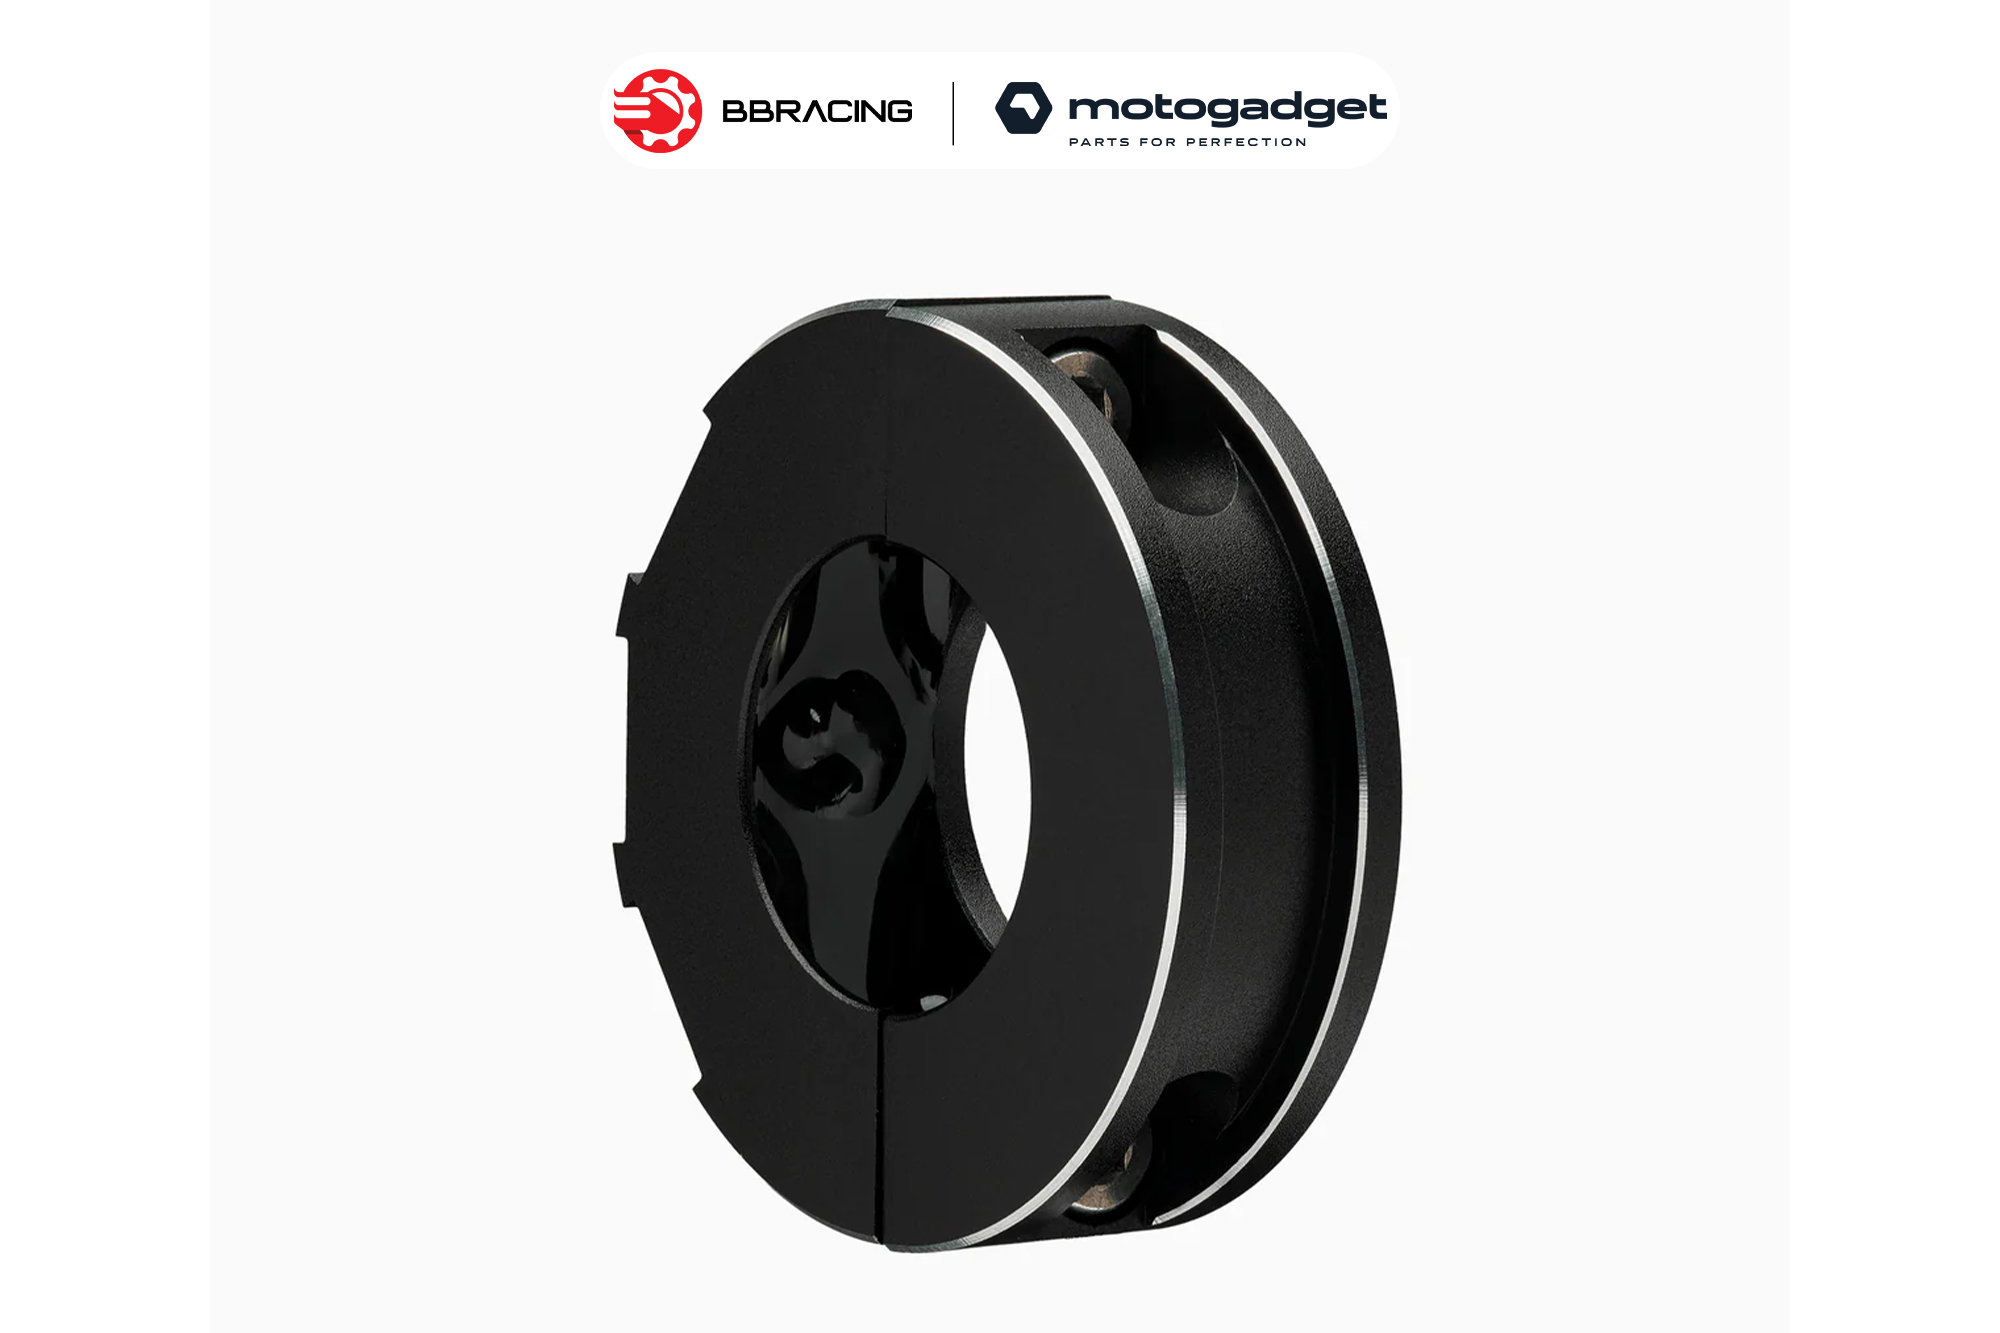
The two halves of the housing are screwed against each other with two stainless steel screws and fit handlebars with 22 mm or 1-inch diameter.
The case is also available polished. Then of course without the contrast look. If there is not enough space for a mo.switch mini on the right side of the handlebar due to a large throttle grip, two button housings can also be mounted on the left grip. The six buttons and the symmetrical milling create a special eye-catcher.
The mo.switch mini forms a super stylish handlebar look with the mo.grip aluminum grips or the mo.grip soft rubber grips as well as the mo.blaze disc handlebar end turn signal and the mo. rearview mirror. This modular and high-quality handlebar grips turn signal system adorns the cafe racer as well as any other handlebar.
Used in conjunction with an electronic push-button control (not included), these beautiful CNC machined fittings can switch all electrical units such as lights, turn signals, electric starters, horns, and much more.
1. Technical Data
2. Scope of delivery
3. Installation and Operating Instructions
Thank you very much for choosing a high-quality product from motogadget. All of our products are designed and manufactured in Germany. By choosing a motogadget product, you help to ensure that jobs stay in Germany. Please read the following instructions carefully and follow them when installing your turn signals.
4. Mechanical Installation
First, the handles, turn signals, and brake and clutch instruments are mounted at their final positions on the handlebar.
Unscrew the mo.switch mini and hold the push-button part in the desired position on the handlebar. Take a pen and mark the position of the cable hole on the handlebar precisely. The cable hole will determine the future position of the push-button assembly. Make sure to set the cable hole marking very precisely – it is not possible to correct the position after the cable hole has been drilled.
Drill one cable hole each of 5mm diameter on the left-hand and right-hand side of the handlebar. We recommend drilling a 6mm hole on the bottom of the handlebar center position for both cables to exit. Make sure to remove all the insides and outsides of the holes. Existing burrs can damage the cable insulation and cause short circuits leading to irreparable damage to the push-button assembly.
Now place the push-button half of the mo.switch mini on the handlebar and route the cable through the hole to the handlebar center and then out of the 6mm hole in the handlebar.
As a final step, mount the rear side of the mo.switch mini. This part is designed asymmetrically to produce a clamping gap. During installation, make sure the clamping gap is oriented to the bottom of the handlebar. The maximum mounting torque of both clamping screws is 2 Nm.
5. Electrical Installation
Two of the three push buttons are internally connected; one push button can be allocated as desired. For use with the mo.unit, connect the black cable and red cable to the ground terminals and connect the white, yellow, and green cables to the desired input terminals on the mo.unit.